Your Apple email ID is an essential part of your iPhone’s identity. It is used for various Apple services. These services include iCloud, iTunes, and the App Store.
When you want to update or change your Apple email ID address on your iPhone, follow the correct steps. This is important whether you have a new email provider or a personal preference. These steps ensure a smooth transition.
In this article, we will give you a detailed step-by-step guide. You will learn how to change your Apple email ID address directly from your iPhone. Let’s get started!
How To Change Apple Email ID Address on your iPhone
To change your Apple email ID;
Step 1: Go to Settings
Begin by unlocking your iPhone and locating the “Settings” app, which is represented by a gear icon. Tap on it to open the Settings menu.
Step 2: Select Your Apple ID
In the Settings menu, tap on your Name, which appears at the top of the screen. This will take you to the Apple ID settings.
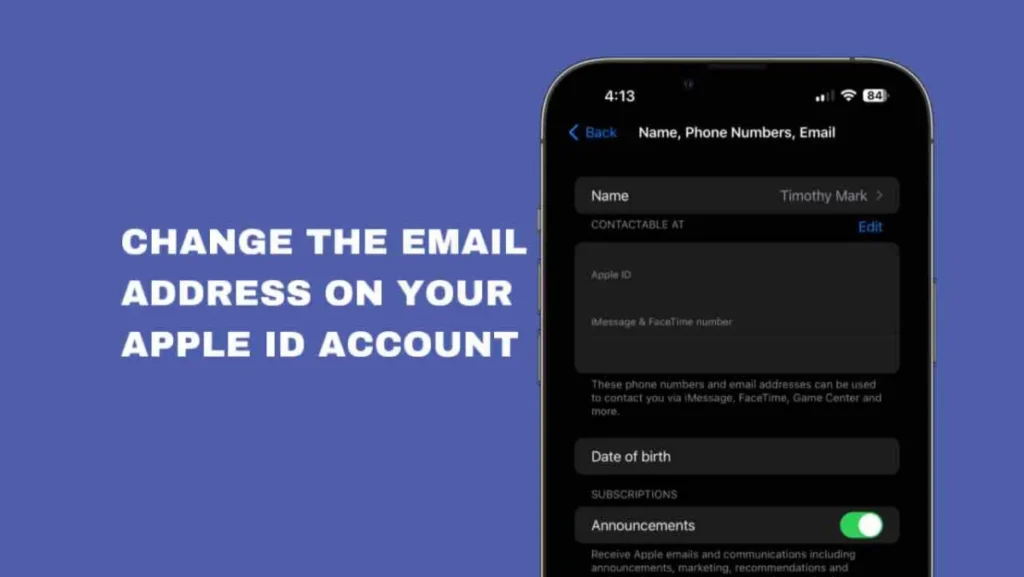
Step 3: Go to Name, Phone Numbers, Email
On the Apple ID screen, you will see various options related to your account.
Locate and tap on the “Name, Phone Numbers, Email” option. You may be prompted to enter your Apple ID password for verification.
Step 4: Manage your Email Address
In the “Name, Phone Numbers, Email” section, you will see a list. It contains all the email addresses associated with your Apple ID. Tap on the “Edit” button, usually located at the top-right near Contacted At.
Step 5: Remove the Old Email Address
A red minus (–) icon will appear next to each email address. Locate the old email ID that you want to change and tap on the minus (–) icon, then tap Delete.
Step 6: Add New Email Address
Once you tap on Delete, you’ll see a pop-up asking you to choose another email. Tap on Choose Another Email and then enter your device password.
Enter the new email ID in the provided field, making sure it is a valid and active email address. Once you have entered the new email address, tap “Next.”
Step 7: Verify New Email Address
Apple will send a verification email to your new email address. Open your email inbox on your iPhone or another device and locate the email from Apple.
Follow the instructions provided in the email to verify the new email address.
Step 8: Set the Primary Email Address
After verifying the new email address, return to the “Name, Phone Numbers, Email” section in your Apple ID settings.
Tap on the new email address. A checkmark will appear next to it. This shows that it is the primary email address associated with your Apple ID.
Alternatively;
- Visit appleid.apple.com and log in to your account.
- In the Sign-In and Security section, select the option for Apple ID.
- Provide the email address you wish to use as your new Apple ID.
- If you have switched to a third-party email address for your Apple ID, check your email for a verification code. Enter the code when prompted.
If you use services like iCloud or Messages, sign in with your updated Apple ID. This will help you interact with friends. You should also sign in to these services to communicate with colleagues.
Conclusion
Changing your Apple email ID address on your iPhone is straightforward. You can accomplish this through the device’s settings.
Follow the step-by-step guide outlined in this blog post. You can easily update your Apple email ID to reflect your new email address.
Verify the new email address. This will ensure its activation. Make it the primary address associated with your Apple ID.
Enjoy a seamless transition as you continue to enjoy Apple services with your updated email ID!

